Monthly Archives: July 2025

Mini Car Racing Game Really Shows Off Multicolor Printing

estimated reading time: 1 min

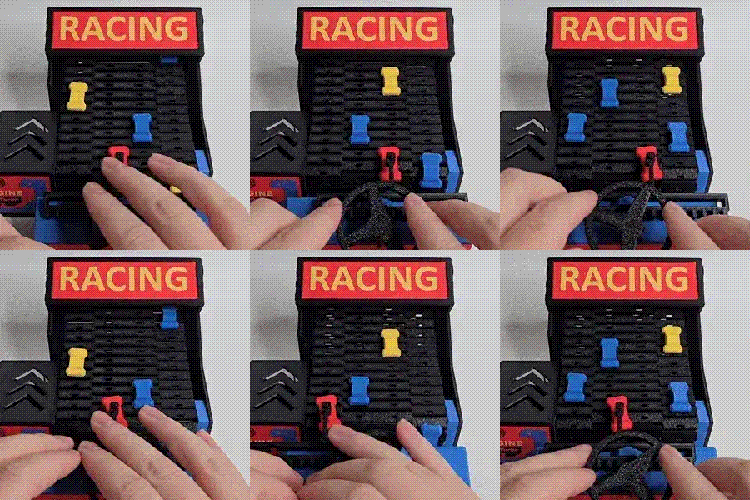
Quality 3D printing is a common hobbyist tool nowadays, and [wontonnn]’s mini arcade car racing game really shows off how 3D printing can bring parts from functional to fantastic. There are quite a few details we like in [wontonn]’s design, so let’s take a closer look.

The mini mechanical game is one of those treadmill-based car racing games in which the player navigates a little car between an onslaught of belt-borne obstacles. A little DC motor spins things up in a modular side assembly, and a hand-cranked option is available. The player’s car attaches via a magnet to a steering arm; if the player’s car gets knocked off the magnet, game over.

Treadmill belt segments print as large pre-assembled pieces, with ends that snap together without connectors. Belts like this are sometimes tricky, so this is worth keeping in mind should one ever need a similar part. Since there are no external fasteners or hardware to depend on, one could resize it easily to suit their own project purposes.

The finishing touches on the whole assembly look great. It used to be that the sort of colors and lettering seen here would come from a sticker or label, but [wontonn] gets clean lines and colors by raising (or sinking) different parts of the design. The checkerboard pattern, for example, has the light squares raised for printing in a different color.

Electromechanical arcade games have an appeal all their own, being a fusion of both mechanical and electric design that comes together in a special way. Want to make your own? Get inspired by the classic Lunar Lander reimagined, or check out this LEGO treadmill racer that takes an entirely different approach to the concept.

from wallabag — all feed https://ift.tt/7riafX9

Deepnest – open source nesting software

estimated reading time: < 1 minDeepnest – open source nesting software

Automatic line merging

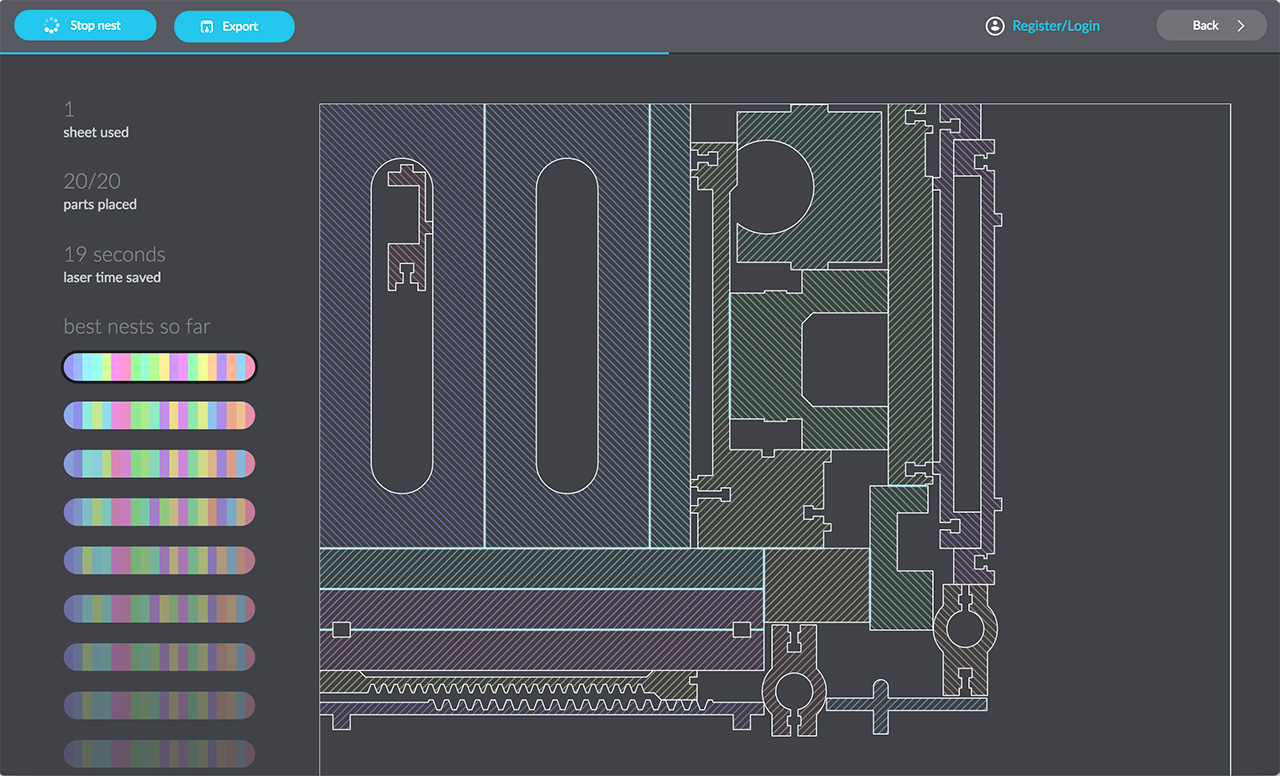
Deepnest packs your parts into a compact area to save material and time. It automatically merges common lines so the laser doesn’t cut the same path twice.

This not only saves time but improves part quality by avoiding heat warping from multiple laser passes.

A robust nesting engine

Deepnest employs a state of the art part layout engine with part-in-part placement and the ability to nest bitmap images for laser engraving

It can read

  • DXF files
  • SVG files
  • Corel CDR files

It can write

  • DXF files
  • SVG files
quickstart 1

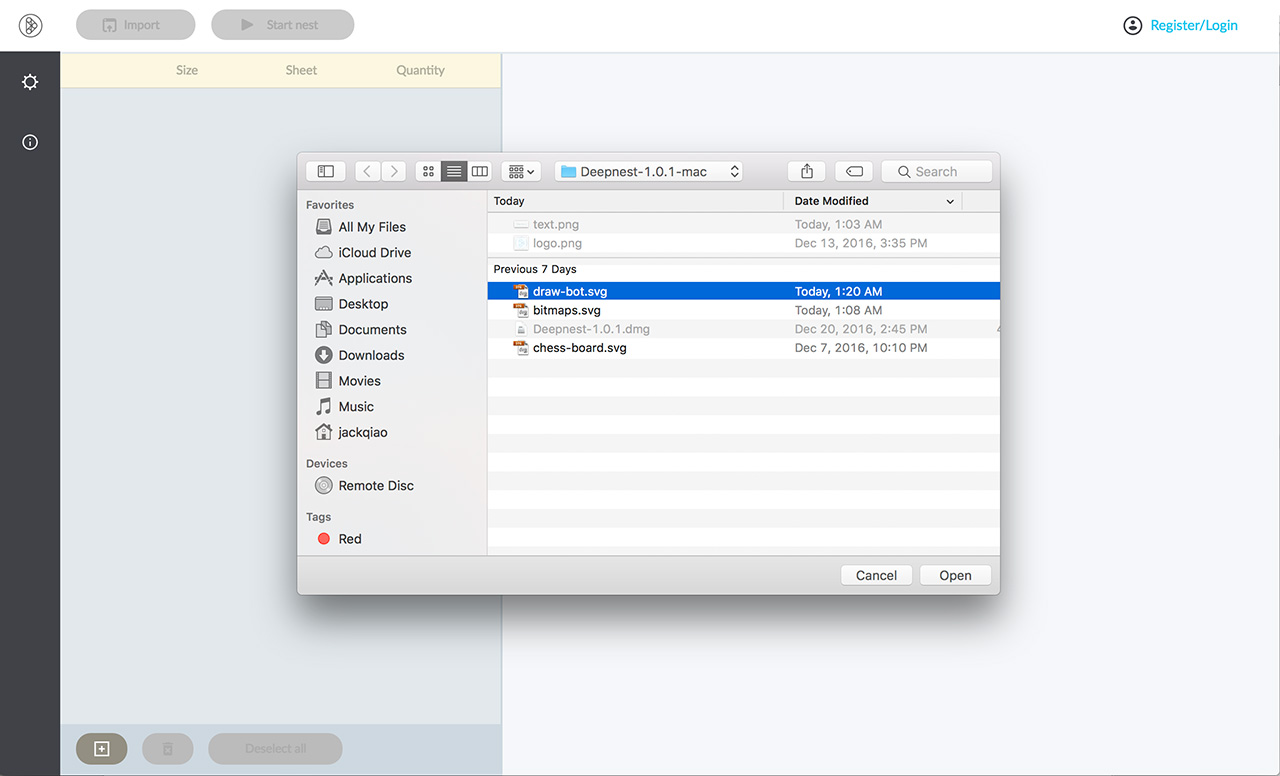
1. Import your file

quickstart 2

2. Mark the largest part as your sheet, then hit start

quickstart 3

3. Deepnest will continue to search for better solutions until you hit stop

from wallabag — all feed https://ift.tt/r4IBxaW

PIC Burnout: Dumping Protected OTP Memory In Microchip PIC MCUs

estimated reading time: 1 min

Normally you can’t read out the One Time Programming (OTP) memory in Microchip’s PIC MCUs that have code protection enabled, but an exploit has been found that gets around the copy protection in a range of PIC12, PIC14 and PIC16 MCUs.

This exploit is called PIC Burnout, and was developed by [Prehistoricman], with the cautious note that although this process is non-invasive, it does damage the memory contents. This means that you likely will only get one shot at dumping the OTP data before the memory is ‘burned out’.

The copy protection normally returns scrambled OTP data, with an example of PIC Burnout provided for the PIC16LC63A. After entering programming mode by setting the ICSP CLK pin high, excessively high programming voltage and duration is used repeatedly while checking that an area that normally reads as zero now reads back proper data. After this the OTP should be read out repeatedly to ensure that the scrambling has been circumvented.

The trick appears to be that while there’s over-voltage and similar protections on much of the Flash, this approach can still be used to affect the entire flash bit column. Suffice it to say that this method isn’t very kind to the Flash memory cells and can take hours to get a good dump. Even after this you need to know the exact scrambling method used, which is fortunately often documented by Microchip datasheets.

Thanks to [DjBiohazard] for the tip.

from wallabag — all feed https://ift.tt/xjz5GtN

Reliving VHS Memories With NFC And ESPHome

estimated reading time: 1 min

Like many of us of a certain vintage, [Dillan Stock] at The Stock Pot is nostalgic for VHS tapes. It’s not so much the fuzzy picture or the tracking issues we miss, but the physical experience the physical medium brought to movie night. To recreate that magic, [Dillan] made a Modern VHS with NFC and ESPHome.

NFC tags are contained in handsomely designed 3D printed cartridges. You can tell [Dillan] put quite a bit of thought into the industrial design of these: there’s something delightfully Atari-like about them, but they have the correct aspect ratio to hold a miniaturized movie poster as a label. They’re designed to print in two pieces (no plastic wasted on supports) and snap together without glue. The printed reader is equally well thought out, with print-in-place springs for that all important analog clunk.

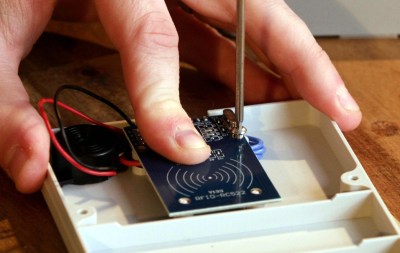
Electronically, the reader is almost as simple as the cartridge: it holds the NFC reader board and an ESP32. This is very similar to NFC-based audio players we’ve featured before, but it differs in the programming. Here, the ESP32 does nothing related directly to playing media: it is simply programmed to forward the NFC tag id to ESPHome. Based on that tag ID, ESPHome can turn on the TV, cue the appropriate media from a Plex server (or elsewhere), or do… well, literally anything. It’s ESPHome; if you wanted to make this and have a cartridge to start your coffee maker, you could.

If this tickles your nostalgia bone, [Dillan] has links to all the code, 3D files and even the label templates on his site. If you’re not sold yet, check out the video below and you might just change your mind. We’ve seen hacks from The Stock Pot before, everything from a rebuilt lamp to an elegant downspout and a universal remote.

from wallabag — all feed https://ift.tt/8Bv14t3

Whack-A-Disk

estimated reading time: 1 min

By now most floppy disks have been relegated to the dustbin of history, with a few exceptions for obscure industrial applications using legacy hardware and, of course, much of the world’s nuclear weapons arsenals. In fact, they’re so rare to see in the world anymore that many below a certain age don’t recognize the “save” symbol commonly used in application user interfaces. Without a use case, and with plenty of old floppies still laying around, [Rob] took a pile of them and built this Whack-a-Mole-style game.

The game has a number of floppy-disk-specific features compared to the arcade classic, though. First, there’s no mallet, so the player must push the floppy disks into the drive manually. Second, [Rob] went to somewhat exceptional lengths to customize the drives to that sometimes the disks jump out of the drive, forcing the player to grab them and put them back in to score points in the game. He did this without needing to install high-powered solenoids in the drives too. As for the game software itself, it all runs on an Amiga 600 and even includes a custom-made soundtrack for the 30-second game.

Getting the drives just right did take a number of prototypes, but after a few versions [Rob] has a working game that looks fun to play and is a clever use of aging hardware, not to mention the fact that it runs on a retro computer as well. Of course, for the true retro feel, you’ll want to make sure you find a CRT for the display somewhere, even though they’re getting harder to find now than old floppy disk drives.

from wallabag — all feed https://ift.tt/s301pgW